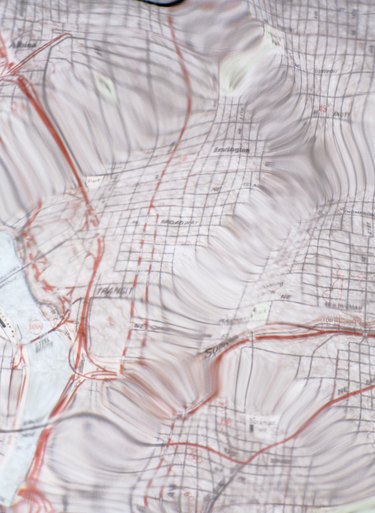
 Familiarize yourself with grading plans to better communicate with your landscaper.
You envision a garden walkway, new storage shed, barbeque pit and privacy screen — your landscaper sees the wavy contour lines of a grading plan. A topographical map, or grading plan, shows planned projects, property lines and permanent structures such as buildings. However, the primary focus of the drawing is to show existing topography and planned topography so that you know where to remove or add soil. Understanding this drawing ensures that you and your landscaper are on the same page and share a common vision that meets your expectations and local building codes.
Video of the Day
Step 1
Orient yourself by using buildings, trees and property lines.
Step 2
Isolate the existing contour from the planned contour lines. The dashed lines are the contours of the existing landscape; the solid lines indicate the planned contour.
Step 3
Observe the distance between the lines. Evenly-spaced lines indicate an even slope, closely spaced lines indicate a sudden drop and widely-spaced lines indicate a level area or low slope.
Step 4
Read the numbers written on the contour lines; these are the heights of the contour lines relative to an agreed upon benchmark.
Step 5
Look for an arrow perpendicular to the contour lines; these arrows indicate the direction of drainage. If the contour lines surround a central area and the arrows point away from this area, the area is a high point. If the arrows point towards a central point, the central point is a low area — a valley.
Step 6
Search for yard drains, splash pads and subdrainage pipe. Yard drains are depicted as square grids, splash pads are labeled rectangles and subdrainage pipes are drawn as thick striped lines. Ensure that each area of the plan has a planned drainage route.
Step 7
Track drainage routes for water near buildings to ensure that water flows away from the foundations of your home and other structures.

